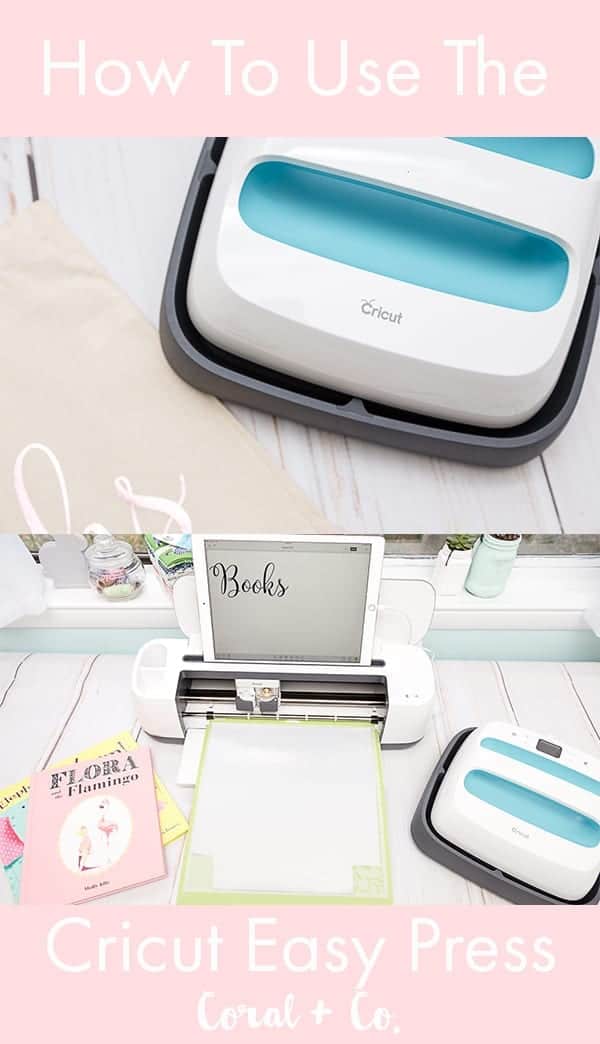
Have you seen the new Cricut Easy Press???? Do you want to know how to use the Cricut Easy Press? You totally need to! Cricut has designed the perfect combination of a smaller heat press and a larger iron called the Easy Press. Everybody who has used iron on or heat transfer vinyl has wished to have a bigger heating surface for pressing the iron on. But do you really have room in your house for a big ol' heat press? With my gazillion sewing machines in my studio there is absolutely no room left for a heat press. And my iron was kind of small for pressing iron on and never really seemed to set the iron on very well. So when I saw the easy press I started salivating. Seriously!
Just like the name it is SO easy! It comes with a square holding dock so you have somewhere to put it while not using it. No worries about burning your table.
Cricut also provides a handy little cheat sheet for what temperature to use and how long. Simply look up your fabric type and type of iron on you are using and set your easy press to those settings and press go. That's it

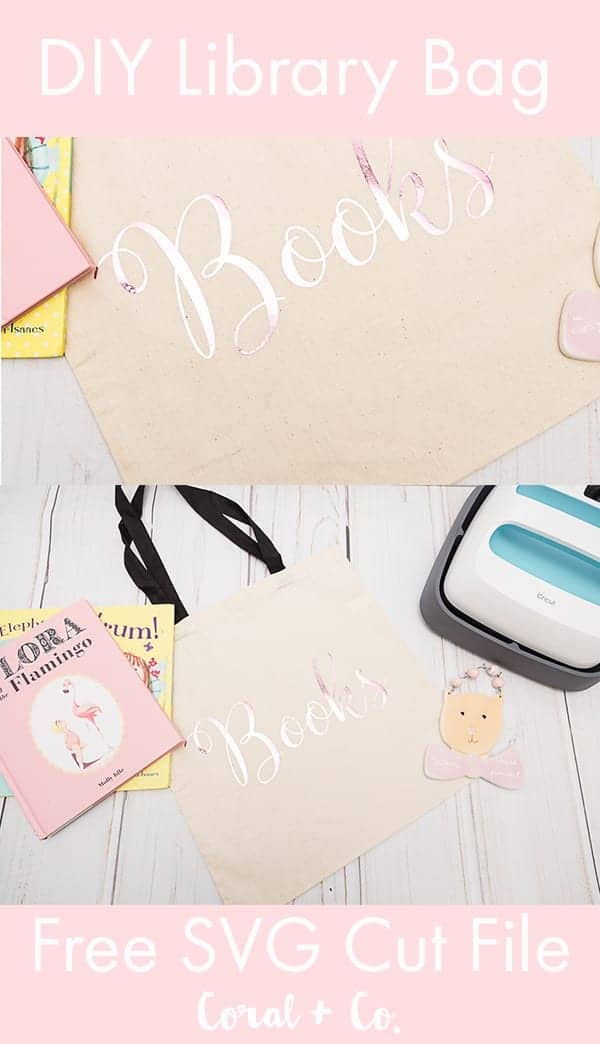
I'm going to show you exactly how easy it is to use the Cricut Easy Press plus I have a free svg for your library or book bag.
How To Use The Cricut Easy Press
What you will need -
- Books SVG or PNG File (the SVG has a special font that will not work in design space. Use the PNG file for design space instead). You can find them at the end of the post.
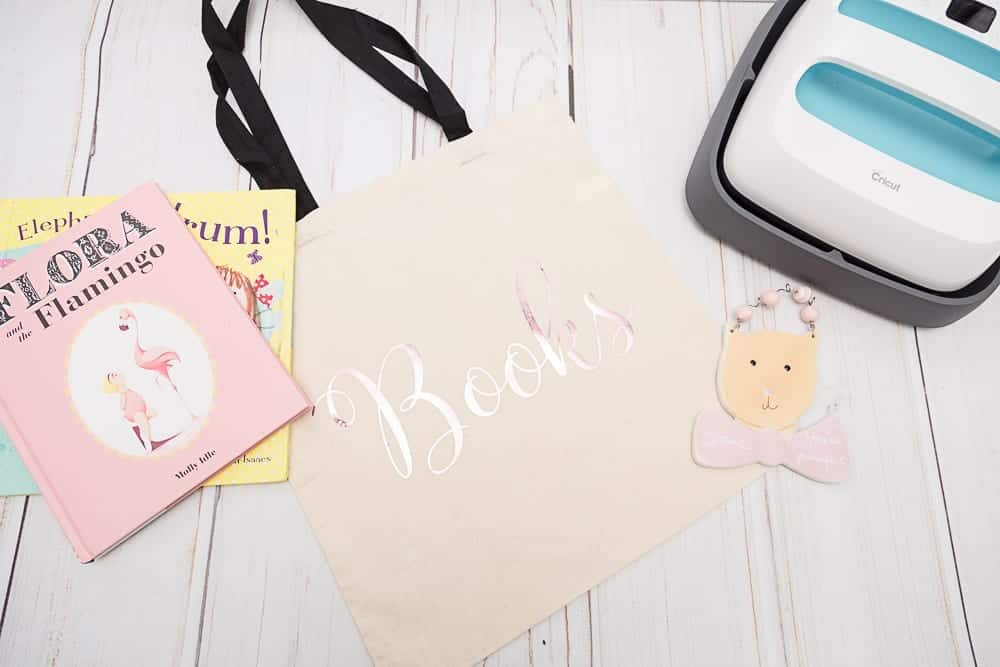
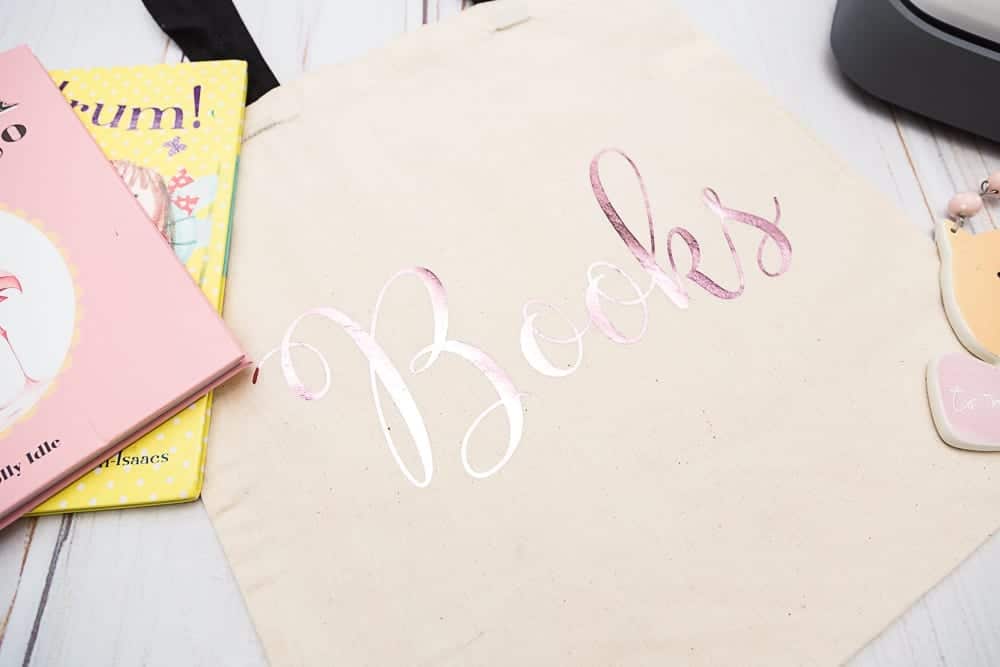
- Iron on Foil - I used pink
- Cricut Maker or Explorer Air 2
- Easy Press or Iron
- Cricut Cutting Mat
- Blank Tote Bag
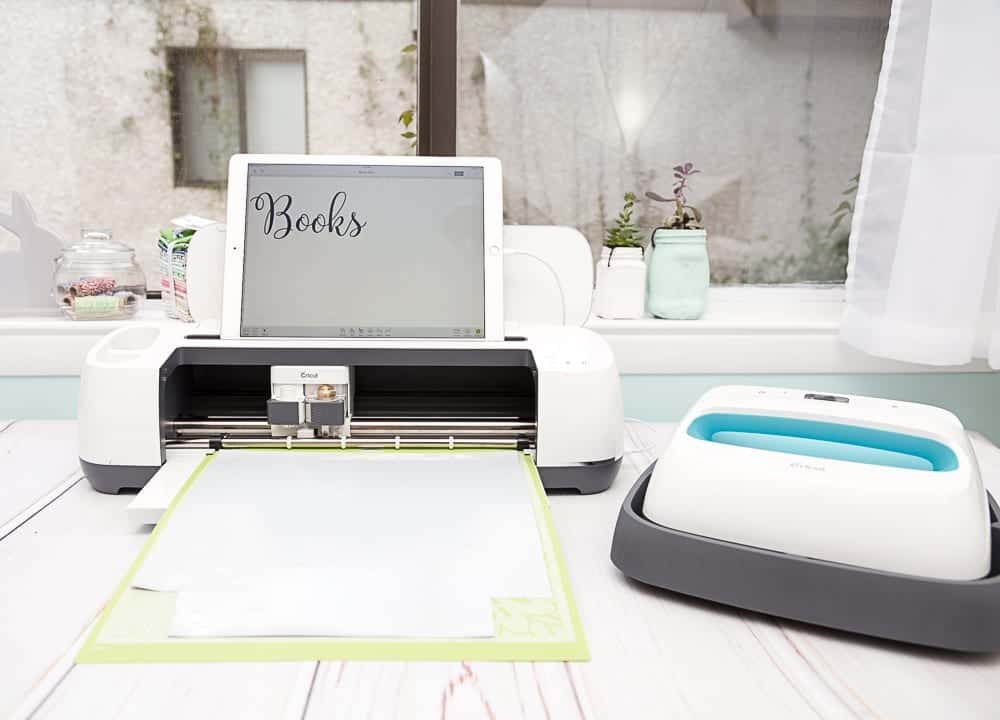
Step 1 - Cut out your SVG file with your Cricut Maker or Explorer Air. One of my favorite new things about the Cricut Maker is that I can use my Ipad to connect Design Space App to the Cricut Maker. I don't have to drag the Maker over to my computer which makes it super easy to make any project.
Step 2 - Turn the Easy Press on and choose the correct heat temperature and time for your materiel. It comes with a cheat sheet so it should be pretty easy to find the correct settings.
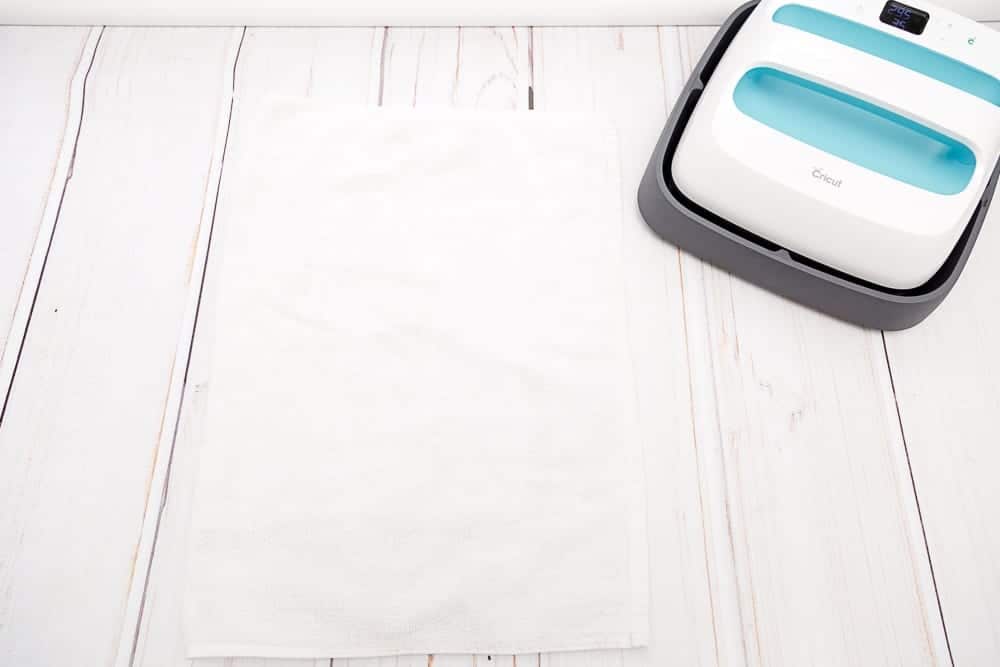
Step 3 - Place a towel under where you will be using the Easy Press..
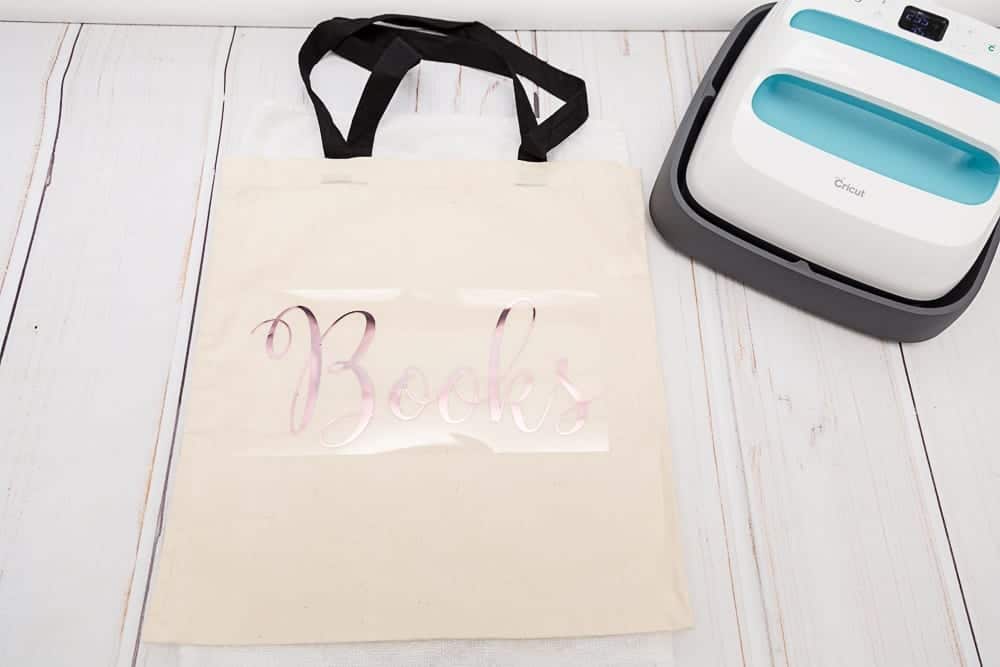
Step 4 - Place the Bag or material you plan on using to press on the iron on. Place iron on in the center of the bag.
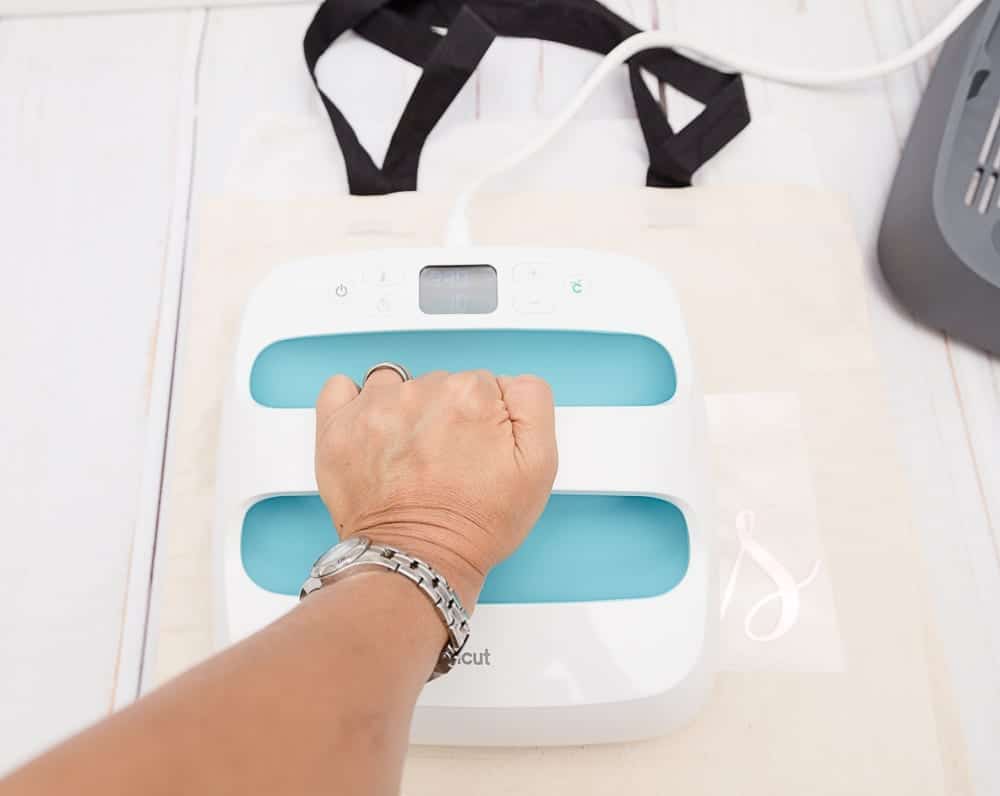
Step 5 - Place the Easy Press on the iron and press the start button. Press firmly. The Easy Press timer will count down and beep when it is time to remove the Easy Press.
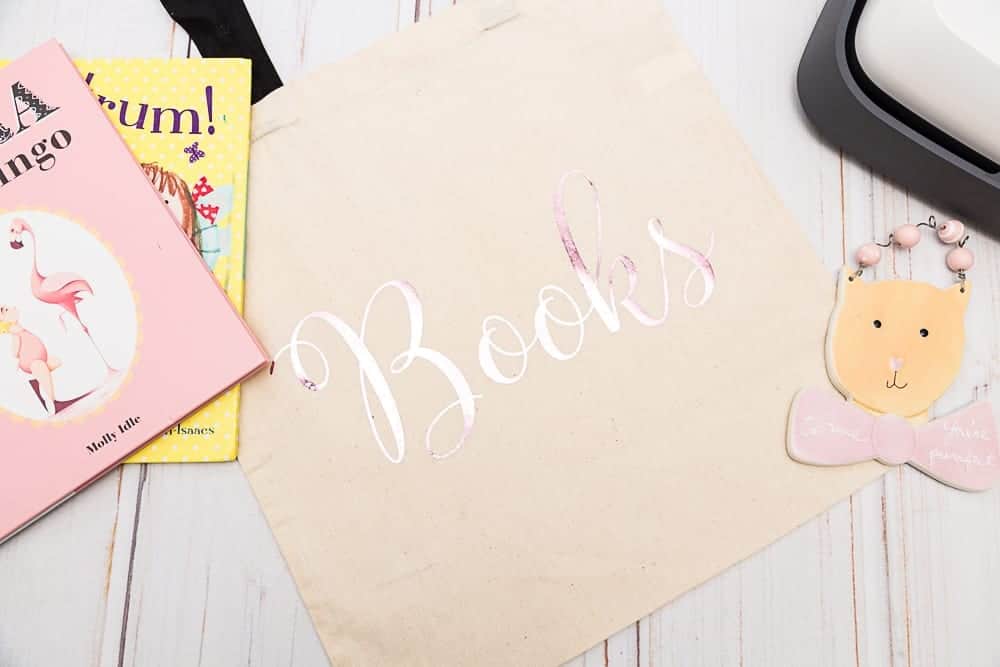
Step 6 - Peel the clear film off the iron template and you are done! How incredibly easy is that?!
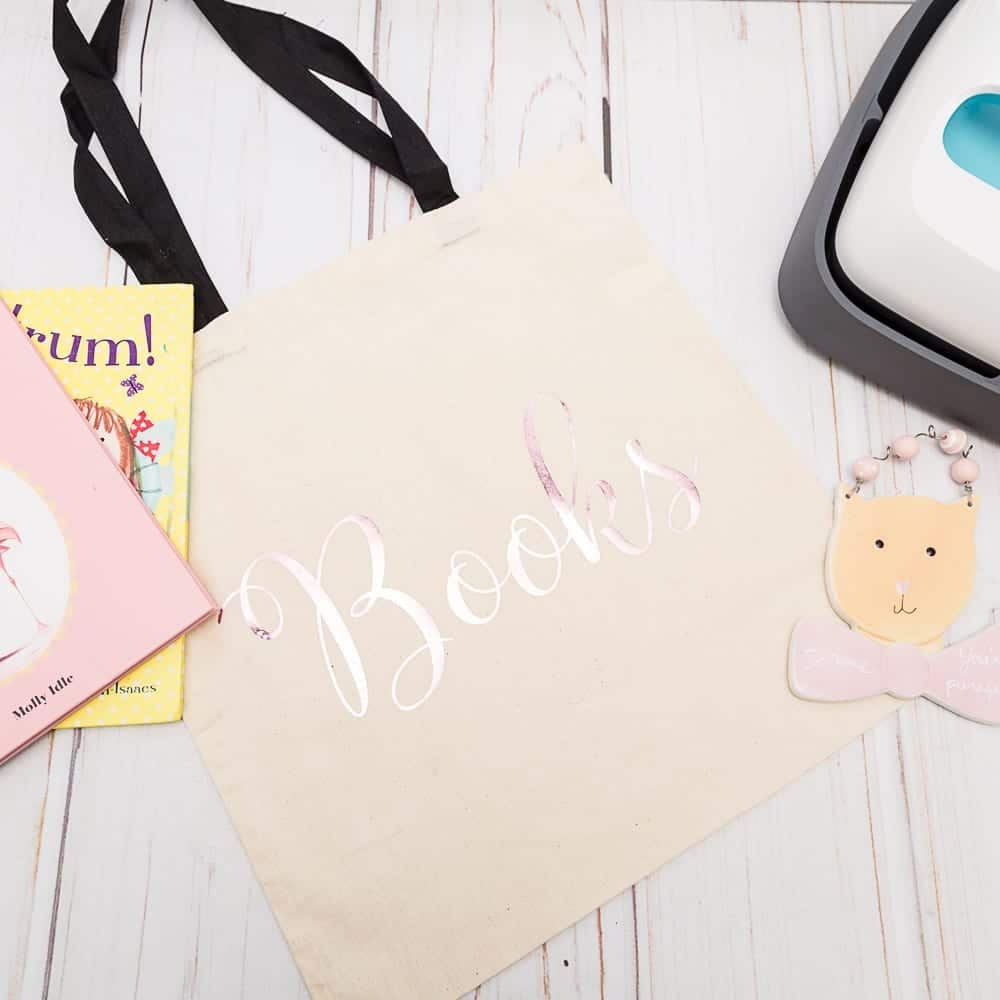
***** You can find the Books SVG in the Resource Library.

This is a sponsored conversation written by me on behalf of Cricut. The opinions and text are all mine.